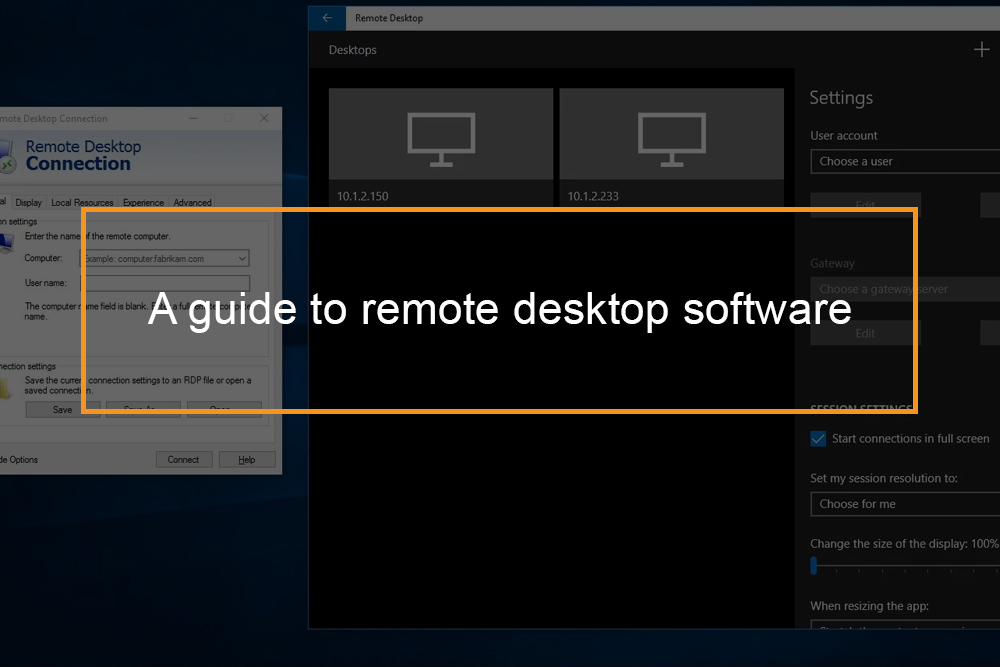
Remote desktop is a program or an OS feature that enables a user to link to a computer in another location, view that computer system’s desktop and connect with it as if it were there.
What is Remote desktop software?
Describing remote desktop software
A remote desktop enables users to access a workplace workstation when at home or vice versa, repair computer problems remotely, perform administrative tasks easily and accomplish presentations of a procedure or software application. Remote desktop connection procedures consist of Remote Desktop Protocol, Virtual network computing, NX technology, and independent computing architecture. Also, headless computers (those without monitor, keyboard or mouse) can be accessed from another location by administrators. A remote desktop is utilized by numerous computer producers’ tech assistance personnel to access, detect, repair or reconfigure a user’s OS, application or hardware problem.
In a remote desktop setup, the controlling computer gets a copy of the image, upgraded periodically or when a modification is spotted by the software, from the managed computer’s screen. The controlling computer’s keyboard and mouse input is transferred to the controlled computer system, where the remote desktop software implements the instructions. Frequently, the regulated computer’s keyboard and mouse can be handicapped to prevent disturbance with the remote user’s actions.
With an Internet connection and unique USB hardware gadgets – or with an Internet-connected local area network, a router and assistance software – a controlling computer user can switch on the controlled computer system remotely. This is one ability that is not addressed with remote desktop software.
What is remote desktop software utilized for?
People use remote desktop access abilities to do a variety of things, which include:
- Gain access to a workplace computer system from home or when traveling.
- Access a home computer from other locations.
- Repair a computer issue.
- Perform administrative tasks.
- Show something, such as a procedure or a software application.
Remote desktop gain-access-to software application
Remote desktop access software exists on most OS and platforms, consisting of hand-held computing gadgets. Microsoft and Apple each have a product called “Remote Desktop.” Other remote desktop items include Citrix XenApp, CrossLoop, Jaadu (for the iPhone and iPod Touch), GoToMyPC, pcAnywhere, and Chicken of the VNC.
Should I allow Remote Desktop?
If you want to access your PC when you are physically in front of it, you don’t require to allow Remote Desktop. Enabling it opens a port on your PC that is visible to your regional network. You should only enable it in trusted networks, such as your home network. You also do not want to enable it on any PC where access is monitored closely.
Understand that when you enable Remote Desktop, you are approving anybody in the Administrators group, and any extra users you choose, the ability to remotely access their accounts on the computer. You need to make sure that every account that has access to your PC is configured with a strong password.
Why permit connections only with Network Level Authentication?
If you want to restrict access your PC, you can opt to enable access just with Network Level Authentication (NLA). When you allow this option, users have to log in to the network before they can link to your PC. Permitting connections just from computers running Remote Desktop with NLA is a safer authentication method that can further safeguard your computer system from malicious users and software.
Limitations of Remote Desktop connections in Windows
If you run Windows 10 and 8.1 Pro or Enterprise; Windows 7 Professional; Windows 7 Ultimate or Windows 7 Enterprise, you can allow Remote Desktop Connections. If you run any other versions of Windows, like Windows 10 Home, Windows 8.1 or Windows 7 Home, you can not allow Remote Desktop Connections.
How do I set up Remote Desktop on Windows 10?
Setting up remote access on your computer
How to discover and allow Remote Desktop Connections in Windows 10, using the Settings app?
NOTE: This only works if you have Windows 10 Fall Creators Update. If you have an earlier variant of Windows 10, avoid the next part of this tutorial.
If you are utilizing Windows 10 Fall Creators Update, using the Settings app is the most convenient way to get to the Remote Desktop Connection settings. Go to the Settings app – an easy way to do it is to click or tap on the cogwheel button from the Start Menu or, if you prefer using your keyboard, simultaneously press the Windows + I keys.
- Inside Settings, open the System category.
- On the justify side of the System classification, select Remote Desktop. Then, on the right side of the window, a page with the same name – Remote Desktop – is loaded.
Here, Windows 10 discusses what Remote Desktop is and everything about:” It lets you link to and manage this PC from a remote device by utilizing a Remote Desktop client app (offered for iOS, Android, Mac, and Windows). You’ll be able to work from another gadget as if you were working straight on this PC.” - To allow remote desktop connections to your Windows 10 PC, you must turn on the “Enable Remote Desktop” switch. Windows 10 asks you to verify your option. Click on the Confirm button.
- Then, when the “Enable Remote Desktop” switch is on brand-new settings become available and are listed below it.
By default, Windows 10 permits connections only from computers running Remote Desktop with Network Level Authentication. This means that your PC only connects to those computers running versions of Remote Desktop that have Network Level Authentication. Network Level Authentication was developed in Remote Desktop Client 6.0. If the client computer system is running Windows 10, Windows 8.1, Windows 7, or they have just recently downloaded the Remote Desktop Connection; you should have no issues linking to your PC, using the login qualifications of an administrator user.
However, you may not want to share your administrator login credentials with others. You can add other users and allow them to access the computer remotely.
To do that, scroll the Remote Desktop page from the Settings app and click or tap on the link that states “Select users that can remotely access this PC.”
- This will open a small window called “Remote Desktop Users” which lets you select which users are allowed to initiate remote connections to your Windows 10 PC.
The actions are the same for all contemporary Windows variations, including Windows 10, Windows 7 and Windows 8.1. To see which they are, check out the last section of this guide:
How to find and allow Remote Desktop Connections using the Control Panel (Windows 10, Windows 7 and Windows 8.1)?
One way to get access to the “Remote Desktop Connections” settings that works for all three Windows operating systems is to open the Control Panel and go to “System and Security -> System.”.
- Click on the link called “Remote settings.” on the justify side of the window.
- Regardless of the operating system, a window called System Properties will open. On its Remote tab, you can see two sections: Remote Assistance and Remote Desktop. The settings that matter for this tutorial are the latter.
- In the Remote Desktop area, you have three alternatives to pick from:
- ” Don’t allow remote connections to this computer system” – This choice avoids users from connecting to your computer using Remote Desktop Connection.
- ” Allow remote connections to this computer,” in Windows 10 and Windows 8.1, or “Allow connections from computer systems running any variation of Remote Desktop,” in Windows 7 – This enables users running any variation of Remote Desktop Connection to connect to your PC. Use this if you are not sure which version of Remote Desktop the client uses, or if they are utilizing a third-party Remote Desktop Connection application. For instance, Linux clients likely need the 2nd alternative.
- ” Allow connections only from computer systems running Remote Desktop with Network Level Authentication” – This limits Remote Desktop Connections to those computers running versions of Remote Desktop that have Network Level Authentication, and it is chosen by default. If the client computer is running Windows, or they have recently downloaded the Remote Desktop Connection customer, utilize this option, as it is safer and more secure.
- When you click or tap OK, customers can log in to your computer via Remote Desktop Connection utilizing the login credentials of administrator level users. However, you probably do not want to give your administrator login credentials to other individuals, so before you click or tap on the OKAY button, go to the “Select Users” button, and make sure that you add other users as explained above.
How to pick the users that are permitted to connect from another location to your PC, in Windows?
It is always good to set up a separate basic level that represents user Remote Desktop Connections. The “Remote Desktop Users” window is where you can allow other user accounts to connect through Remote Desktop Connections. It is the same with all modern Windows operating systems, whether you utilize Windows 10, Windows 7 or 8.1, and regardless of whether you opened the Remote Desktop Users window from the Settings app or the Control Panel. Here is what you should do next:
- To add the users who can access the computer remotely, in the Remote Desktop Users window, click or tap on Add.
- In the Select Users window, type the end user account name in the box in the next window and click or tap on Check Names.
- Windows will then check to see if a user account with that name exists and adds it to the list whether you are using a local account, or complete the email address if you are utilizing a Microsoft account. When done, click or tap on OK.
- Once you are back to the Remote Desktop Users window, click or tap on OK once again.
- Now, the end user you added will be able to connect through Remote Desktop Connection to your computer with his or her login credentials.
How do I utilize Remote Desktop Connection?
Linking to Your PC with the Traditional Client
Now you’re all prepared to connect to your PC from another location either from another computer on your network or from any computer with an internet connection. Initially, we’ll link using the conventional client program (called Remote Desktop Connection) that is set up by default on most Windows operating systems.
Start > All Programs > Accessories > Remote Desktop Connection.
When the program loads, you can connect to your Remote Desktop PC in the Computer field and hit the Connect button. That is basically it. There are a few different items you can use like:
- Computer system Name: This is the Computer Name worth of the computer system that Windows uses to aid you in identifying computers on a local network. You can only utilize this when you are on the same network as the Remote Desktop machine, not if you are connecting from a machine outside your home or office. You can find this worth on the PC by right-clicking the My Computer or the Computer image on your desktop or the Start menu, clicking Properties, and if in Windows XP, you will have to click on the computer name marker. Windows Remote Desktop.
- Local IP Address: This figure (such as 192.168.1.103) also helps distinguish computer systems on a local network, and it is utilized by the network parts when sending and receiving information. Like with the Computer Name; you can only use this while on a similar network. You can find a computer’s IP location by browsing the network connection status information in Windows.
- Web IP Address: This number is the IP address of your Internet connection or modem, designated by your Internet service supplier (ISP), utilized to identify computers or networks on the internet. This is the figure you want to use when connecting to your Remote Desktop PC when away from the home or office. You can discover your Internet IP address from your router’s status pages, under the WAN or Internet section, or you can search for it with a Web site utility. A word of caution: Your Internet IP varies, anywhere from daily to monthly, if you have a dynamic IP address. This kind of internet IP address is usual for most places, and even small business. You can phone your Internet Service Provider to see if you have a dynamic IP address or a fixed location.
- Domain or HostName: If you have a vibrant IP address (or you don’t wish to keep in mind a static address), it’s best to use a domain or hostname to link to your Remote Desktop PC. This requires you to register for a service (a couple of complementary ones are DynDNS, FreeDNS.afraid.org, and No-IP) and configure your router with your account information, so your hostname remains updated when your IP address changes.
- Connecting to Your Windows XP PC through the Web Browser.
If you followed the instructions to set up Web access of your Remote Desktop PC, you could access your computer system with a Web browser. Open a Web browser, in the URL tab type in http://YourIPAddress:PortYouChoose/tsweb/ and press Enter.
You need to type a colon and the port figure if you change the default port 80 to another number. If you are linking to the Remote Desktop from a computer on the regional network, you can utilize the PC’s local IP address rather than the Internet IP address. However, if you are linking from elsewhere, you must utilize your Internet IP address.
- If you’re prompted to set up the Remote Desktop ActiveX command, click Yes. On the Remote Desktop Web Connection page tap on Connect. You don’t require to fill out the server field. If you leave the standard size set to full-screen, it will attempt to use the conventional customer software program if it’s installed. If not, you’ll see the Remote Desktop screen in your internet browser at the size you specify.
Now you should have the ability to access your PC from anywhere remotely. If you face issues and can’t link utilizing the customer program or the Web access page doesn’t load, check your firewall and router settings.
Five important ideas that can make your deal with Remote Desktop Connection much faster and more efficient
-
Conserve Common Connections as RDP Files
Among one of the most standard pointers is to save your typical links as.RDP files, which can be kept on the desktop or in a file. Using RDP files makes it even more hassle-free to open your often used systems since all you have to do is select the.RDP file. There’s no need to re input all your login details. To save your Remote Desktop Connection presets, open Remote Desktop Connections and select Show Options; you will then proceed to the General tab and pick the Save As option to provide a name and place for the .RDP file. -
Optimize Your Display Settings
Another useful management tip for Remote Desktop Connection is the ability to tailor the screen settings. Some administrators choose to run their Remote Desktop Connection sessions while in full-screen with the connection bar at the topmost of the screen, while others choose many windowed screens. To optimize your display screen settings, click the Display tab and after that use the Display configuration slider to adjust the size of the Remote Desktop Connection window. To view in fullscreen, drag the slider all the way to the right until it says Full Screen, then ensure the “Display the connection bar when I use the full-screen” checkbox is selected so that you can easily change back to your local desktop. -
Save Your Login Credentials for Faster Connections
Saving your remote login credentials can speed up logging on to the remote session every time you wish to connect. You can save time when linking to systems you connect to often. To save your remote login information, click the General tab and then pick the Allow me to conserve credentials checkbox. The next time you link, you’ll be prompted for your remote login credentials; however, you won’t need to enter them again for the following connections. If you want to undo this choice in the future, choose the Always request qualifications check box. -
Connect Local Devices
One of the things that many neglect is the capability to immediately connect to regional resources such as drive, the clipboard, printers, wise cards, local ports, and PnP gadgets. To reroute local devices, click on the Local Resources tab and after that utilize the Local gadgets and resources section to choose the resources you want to use in your remote session. Printers and Clipboard are noted in the front pane. Clicking the More button allows you to add wise cards, ports, drives, and PnP gadgets. The resources that are enabled can be run by using the Group Policy: Computer Configuration, Policies, Organizational Templates, Windows Components, Remote Desktop Services, Remote Desktop Session Host, Device and Resource Redirection setting. -
Discover Remote Desktop Connection Keyboard Combos
Using the keyboard in a remote session can be very different from using it on your desktop. To direct your basic Windows keys mixes in the remote session, utilize the Local Resource tab and the Keyboard pane to manage where the keyboard mixes will be applied. I choose this only when using the complete screen setting, but you can likewise opt for the keyboard mixes to be all local or remote. Then, you can take advantage of keyboard shortcuts to make your Remote Desktop Connection session more effective. CTRL-ALT-BREAK toggles the complete window view on and off (on some keyboards the BREAK secret is changed by PAUSE, PRTSCN or FN-SCRLK). CTRL-ALT-HOME triggers the connection bar. If you’ve allowed the clipboard, you can use CTRL-X, CTRL-C, and CTRL-V to cut, copy, and paste the information in between your local desktop and the remote session.
Remember that:
- Your computer must be turned on to link to it remotely and disable any automatic sleep, hibernation, or standby functions on your PC.
- Keep Windows current with critical and suggested updates to make sure you’re secured from the currently recognized security holes.
- Make sure Windows Firewall, or another third-party option, is always on and protecting against hackers.
- Even when connecting to a PC through a Web browser, the host computer must also have the standard Remote Desktop function allowed.
Basic Security Tips for Remote Desktop
The usage of strong passwords
Utilize a strong password on any accounts with access to Remote Desktop. This should be thought about as a necessary step before enabling Remote Desktop.
Update your software
One advantage of using Remote Desktop instead of 3rd party remote admin tools is that components are instantly updated to the most recent security fixes in the standard Microsoft spot cycle. Ensure you are running the latest versions of both the customer and server software application by allowing and auditing automatic Microsoft Updates. If you are utilizing Remote Desktop customers on other platforms, ensure they are still supported and that you have the most recent variations. Older variations may not support high file encryption and might have other security defects.
Limit access using firewalls
Use firewall programs (both software and hardware where offered) to restrict access to remote desktop listening ports (default is TCP 3389). Utilizing an RDP Gateway is highly suggested for restricting RDP access to desktops and servers (see conversation listed below). As an option to support off-campus connectivity, you can utilize the school VPN software application to obtain a campus IP address, and add the campus VPN network address to your RDP firewall program exception guideline. See http://net.berkeley.edu/vpn/ (link is external) for more on the school VPN service.
Enable Network Level Authentication
Windows 7, Vista, and Windows Server 2008 also provide Network Level Authentication (NLA) by default. It is best to leave this in location, as NLA offers an extra level of authentication before a connection is developed. You should only set up Remote Desktop servers to enable connections without NLA if you use Remote Desktop customers on other platforms that do not support it.
Limiting users who can visit using Remote Desktop
By default, all Administrators can access Remote Desktop. If you have many Administrator accounts on your computer system, you ought to limit remote gain access to those accounts that require it. If Remote Desktop is not in use for system administration, withdraw all administrative access via RDP and enable user accounts requiring RDP service. For Departments that handle many devices from another location, eliminate the local Administrator account from RDP and include a technical group instead.
Set an account lockout policy
By setting your computer to lock after a certain period and a certain number of incorrect guesses, you will help avoid hackers from utilizing automatic password guessing tools from gaining access to your system (this is called a “brute-force” attack).