 It is very important in today’s market to guide a new product from concept to market quickly and inexpensively. This is where rapid prototyping comes in-it automates the making of a prototype and builds a prototype part from a three-dimensional (3-D) model.
There are non exhaustive list of prototyping methods, therefore this post will provide you with tips that can guide you maximise your prototyping methods.
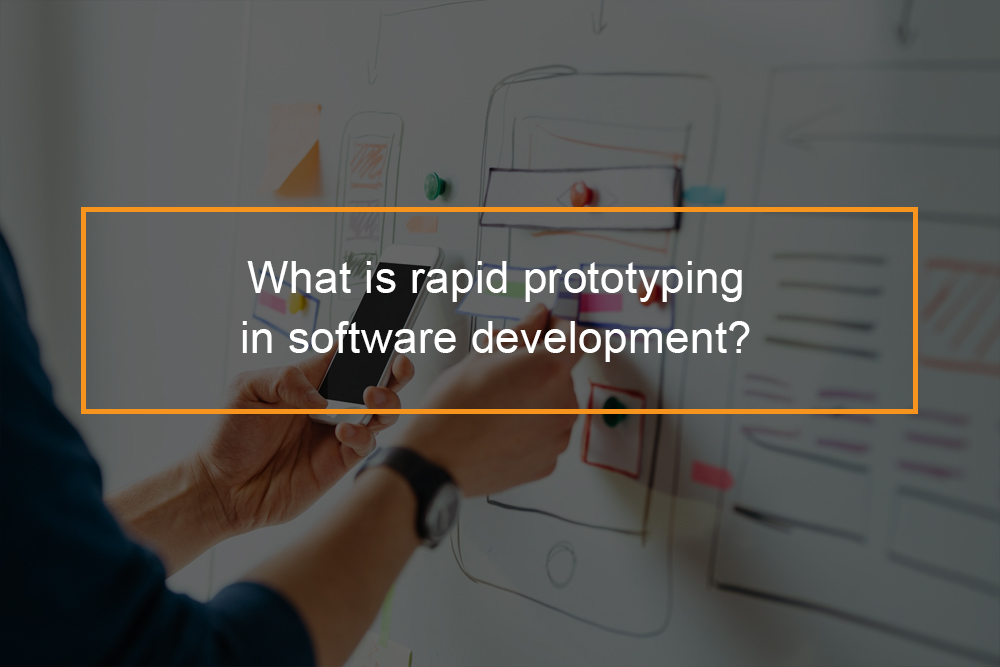
What is rapid prototyping in software development?
Rapid prototyping in software development
Rapid Application Development (RAD) is a method of software development which basically emphasizes rapid prototyping and iterative delivery. You can therefore think of RAD model as another possibility to the typical waterfall development model, which generally focuses on planning and sequential design practices.
Rapid prototyping in software development was introduced in 1991 and has over the years become one of the most popular and powerful development methods. RAD is under the parental category of agile development techniques.
Advantages of prototyping in software development
- Unlike other creation types such as towering skyscrapers and sleek new automobile which need meticulous planning and logic development, RAD is inherent synergy and the software which is powered by the code can be morphed quickly and easily during development.
- RAD is adaptable, therefore lending itself well to iteration and experimentation.
- Designers and developers can easily utilize discoveries and knowledge to shape design or alter the software direction entirely.
How to use Rapid prototyping in software development?
To get started with rapid prototyping development you will basically follow a cyclical process which is summarized in four steps:
Step 1: Planning requirements
Here a rough agreement is made among stage designers, developers and users on the project scope and application requirements.
It is the stage which gives way to future stages with prototyping
Step 2: User Design
In this stage feedback is collected which is heavily emphasised on determining the system architecture. The goal of this stage is to aid in the creation of initial modelling and prototypes. The step is however repeated more often as the project evolves.
Step 3: Rapid construction
This is where the actual application coding, testing and integration takes place. Like user design, this step is repeated as often as necessary, as new components are needed or alterations are made to meet the needs of the project.
Step 4: Cutover
This is the last stage and also known as transition. It allows development team to move components to a live production environment. The live production environment is a full scale testing or where team training can be done.
Why use prototypes in software development?
A Prototype of Prototyping
While different types of Rapid Application Development emphasize on various concepts and design methodologies, a common inclusion in most RAD is use of prototyping. This is due to the following benefits:
Feasibility– Prototyping enables the development team to evaluate the feasibility of a complex or risky component faster. This allows the software to be better structured for future design additions, less-error prone and more robust.
User involvement– A rapid prototype enables users to use the software and provide feedback on a live stream. This is unlike traditional waterfall model which attempts to offer abstract evaluations of a design document.
Error reduction and debugging– High chances are errors will be discovered during a project with rapid prototype releases. The best part is you can easily deal with the errors in the development cycle if discovered. This is difficult with a typical waterfall approach.
What are the different types of rapid prototyping?
Rapid prototyping types
Every now and then, there are new manufacturing techniques being developed. While some are best for consumer applications and industrial environments, not all of them are suited for rapid prototyping.
This section will discuss the top methods for 3D prototyping and their advantages and disadvantages, so as to help you make the right decision for your next project.
-
Stereolithography (SLA)
This was the first successful commercial 3D printing method.Basically SLA consists of a bath of photosensitive liquid which has one layer which is solidified and uses UV light which is controlled by a computer.
The layer which is derived from two-dimensional cross sections of the 3D CAD is controlled by a software file format known as stl.
The best part about SLA is that stl being the first it has become the default computer language and is utilized by most 3D printers. This is regardless of the printing technology employed.
Moreover, SLA is relatively fast and less expensive. The final product is also of good quality-supports may or may not require supporting machine.
SLA is popular for prototypes and making master patterns for vacuum casting.
-
Selective laser sintering (SLS)
This powder bed fusion, has parts formed on a build plate one layer at a time, using a laser to sinter the powder media. Seeing the support is surrounded on all sides be the powder medium, SLS is self-supporting and does not require additional structures.
Selective laser sintering works best for both plastic and metal prototypes.
One of the benefits of SLS is that parts can be created with complex geometries such as internal lattice structures that would be difficult or even impossible to do any other way.
But, as the surface is rough it may need secondary work to complete it. This is necessary especially if you used it as a master pattern for later casting. Moreover, the strength is also not as good as SLA printed parts.
-
Fused deposition modeling (FDM)
This 3D plastic printing uses a spool of plastic filament that is melted inside the barrel of a printing nozzle. Fused deposition modeling is often found in desktop machines in a home or even small shops retailers.Like Selective laser sintering it is controlled by an stl cutting program.
The hot liquid resin is laid down layer by layer.
The best part about FDM is that it is pocket friendly, simple to use and can host various types and colors of plastic combined in a single build.
In addition, it is very safe for use to even children. However, FDM printed parts have weak resolution and finish quality compared to industrial techniques. The parts are not very strong. But it FDM can be great for creating prototypes and models during development stage.
-
Selective laser melting (SLM)
Selective laser melting is a form of powder bed fusion. It is an industrial process which requires carefully controlled conditions. SLM is fully welded with fine metal powder of uniform size and shape on the build plate. The metal powder is welded with a high powered laser of a sealed chamber. Examples of metal powders include; titanium, stainless steel, maraging steel and cobalt chrome.
Selective laser melting is popular for creating sophisticated parts of the highest strength, durability and complexity.
However, the process can be expensive and requires to be controlled by a skilled engineer. But is worth the investment as the results are great for aerospace, automotive, defense and medical parts.
-
Laminated object manufacturing
This is a series of thin laminates which are laid out on a build platform. Common laminates include paper, plastic sheet and metal foil. You can use a computer controlled layer or even any other cutting device to trace out the pattern.
When the platform drops by the thickness of one layer, a new laminate is glued on top and the process continues.
The stacking process then creates a finished part which is less complex than an SLS or SLM equivalent, however, it is pocket friendly and does not require specially controlled working conditions. Moreover, if you use paper to laminate, the finished part will be similar to solid wood and can be worked accordingly.
-
Digital light processing
This process is similar to that of Stereolithography. Digital light processing cures the resin with a more conventional light source. However, it requires support structures and post build curing.
Digital light processing is generally faster. To save cost, you can use a more shallow reservoir of photoresin. Similar to Stereolithography, the finished part has great dimensional tolerances and surface finish.
In digital light process is Clip-Continuous Liquid Interface Production- where the part is pulled from the vat in a continuous motion. During this process there is no layers and you can not interrupt. This is because the part is withdrawn and therefore crosses a light barrier which is programmed to change its configuration. It produces the requisite cross sectional pattern on the plastic.
-
Binder jetting
This 3D plastic printing has the potential to be a high volume mass production technique. Hundreds of nozzles spray micro-fine droplets of a liquid binder to form a single layer. The layer is then compacted with a roller, then re-coated with powder and later sprayed for the next layer. After removing semi-finished parts from the build chamber, it is important to cure them in an oven to burn off the binding resin and fuse the metal powder together into a solid. The benefits of this process is that many parts can be printed at the same time and still use the full volume of chamber.
However, such parts are not very strong as fully welded SLS parts, although they can work as mechanical fittings.The innovation is still under development and could be more cost effective than previous techniques.
Why rapid prototyping is used?
Benefits of using rapid prototyping in software development and other projects
There are various benefits of using a rapid prototyping. This section highlights a handful of the most crucial.
Measurable progress
Progress on the overall project can easily be measured with frequent iterations, components and prototypes. You can also measure lesser segments and evaluate them. This will help you to maintain schedules and budgets.
Generate productive code faster
Rapid prototyping allows skilled developers to produce prototypes faster and working code. Developers are also able to illustrate examples that might otherwise take weeks or months to see the light of day.
Compartmentalization of system components
Rapid prototyping keeps objects and components quarantined from one another during development. RAD makes designers and developers to build components that are functional and independent within the overall software system, a technique which makes software easily modified as the needs of the software evolve.
Rapid, constant user feedback
Rapid prototyping allows for near constant user interfacing and feedback through frequent iterations and prototype releases, giving the entire software development team priceless evaluation and criticism when it is needed most.
Early systems integration
The best part about Rapid prototyping developer is that it becomes integrated almost immediately. A rapid prototyping is able to identify possible errors or complications faster by requiring early integrations within a prototype. RAD also forces immediate resolutions.
Simple adaptability
During development code can be changed-this alters the whole system or generate new components-this is to the benefit of the developers, and designers as they are able to make use of this flexibility early and often, by iteration and prototyping potential concepts throughout the development process.
Disadvantages of using Rapid prototyping
No software is perfect, they all benefits and faults. While the benefits of using rapid prototyping outweigh the disadvantages, we are going to look at the possible difficulties you will face when implementing rapid prototyping into a new project.
Require modular systems
The whole system when using rapid prototyping requires that each component be modular. This allows each element to be swapped in and out. It also makes the element easy to be altered by team members.
Difficulty within large scale projects
The flexibility which comes rapid prototyping can make management of larger applications difficult.
Demands frequent user interfacing
Rapid prototyping requires that the developing team not only be willing but also be able to communicate with users on a regular basis compared to a typical waterfall development method. This can be challenging.
Relays on skilled developers
Rapid prototyping requires a highly skilled developer in order to quickly adapt as the system and components evolve. This can be a challenge.