Joining Microsoft Teams Calls Without the App
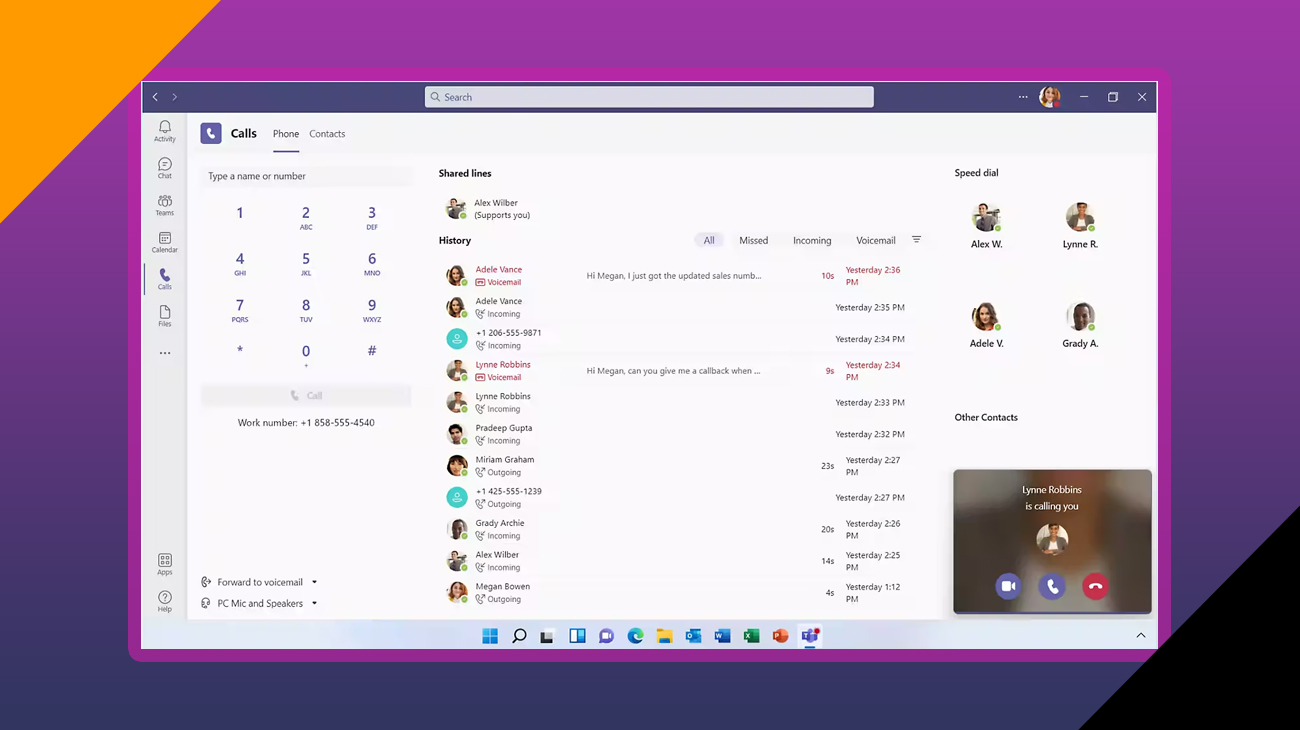
Teams Meeting Without a Teams App
Collaboration and remote communications are now a fundamental part of our way of working to learn, connect, and share information. Microsoft Teams, a powerful platform renowned for its complete set of tools for communicating has gained a huge amount of traction to facilitate smooth virtual collaboration and meetings. But, as technology evolves as do the methods for accessing these tools.
The advent of web-based applications and advanced web technologies has opened up new possibilities for users to connect with platforms that run software without the requirement of dedicated apps. In this regard it is a matter of can you join a Microsoft Teams call without the app? Let’s consider the potential and consequences of accessing Team calls directly via web browsers, giving users more flexibility and ease when it comes to their virtual interactions.
Table of Contents
Can you join a Teams call without the app?
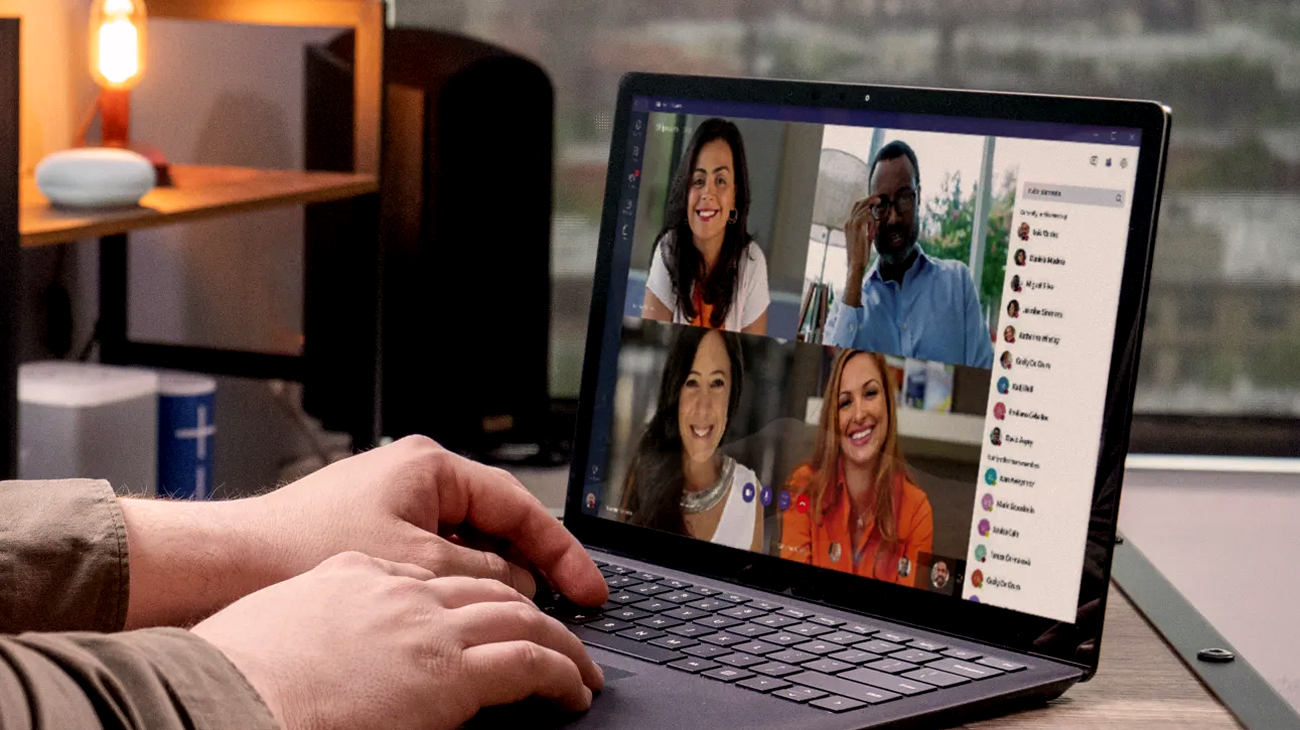
Can you join a Microsoft Teams call without the app? Yes, you are able to join a Teams call even without using the app. It is not necessary to download the Teams application for joining the conference. If you are able to join the meeting using your web browser, Microsoft Edge or Google Chrome both will work. The browser will ask you whether it’s OK to allow Teams to utilize your microphone and camera. If you choose Allow You can disable your microphone or video when you join the meeting.
These are the steps to follow:
- Go to the meeting invite and select Join Microsoft Teams Meeting.
- That’ll open a webpage, where you’ll see two choices: Download the Windows app and Join on the web instead. If you join the web, you can use either Microsoft Edge or Google Chrome. Your browser may ask if it’s OK for Teams to use your mic and camera. Be sure to allow it so you’ll be seen and heard in your meeting.
- Enter your name and choose your audio and video settings. If the meeting room (or another device that’s connected to the meeting) is nearby, choose Audio off to avoid disrupting. Select Phone audio if you want to listen to the meeting on your mobile phone.
- When you’re ready, hit Join now.
- This will bring you into the lobby. We’ll notify the meeting organizer that you’re there, and someone in the meeting can then admit you.
You can join Team calls by dialing a telephone number. The number will be provided in the invite to the meeting.
Here are some tips to consider while participating in a Team call with no app:
- You will not be able to use all the features of Teams, such as the chat, whiteboard, and file sharing.
- Your audio and video quality may not be as good as if you were using the app.
- If you are joining the call from a mobile device, you will need to use a web browser that supports audio and video calls, such as Chrome or Firefox.
Join Microsoft Teams meeting without app – Desktop
To participate in the Microsoft Teams meeting without installing the application, you require an up-to-date browser such as Chrome (or another browser based on Chromium), Firefox, Safari and more.
- Open the browser on your desktop.
- Paste the link to a meeting in the URL bar (you can get the link from the meeting invite or ask the meeting organizer for it).
- Sign in if you have a Microsoft Teams account.
- Enter a name to display during the meeting if you do not have a Microsoft Teams account.
Join Microsoft Teams meeting without app – Phone
To participate in a Microsoft Teams meeting without the official application installed on your device then you must join the meeting by calling. This isn’t difficult, however the number you dial may be or not have a toll-free number. Because of obvious reasons, you’ll not be able to see videos from all the participants.
- Ask the meeting organizer for the Conference number and ID. If you received an invite to a meeting, this information will automatically be included in the invite.
- Share the phone number you will be calling from with the admin so they can identify you.
- On your phone, dial the number for the meeting.
- When answered by the automated system, enter the Conference ID and press the # (hash or Pound) sign.
- Wait to enter the meeting (an admin will have to allow you in).
- Once allowed in, you will be able to hear the meeting audio and speak to everyone in the meeting.
- Other participants will see you’re present and identifiable by your phone number.
What is Microsoft Teams?

Microsoft Teams is the ultimate messaging application for your company. It’s a workspace that allows for real-time collaboration, communications, meetings as well as sharing apps and files, and sometimes, even emojis! All in one location that is open and accessible to all.
Tips on How to Use Microsoft Teams Effectively
- Avoid duplicate team names
A primary step you’ll need to do when you launch MS Teams is to create an existing team (or join an existing team).
Let’s suppose you’re a part of the team. However, if you join two teams sporting the identical name, you’ll become confused as to which team is yours each when you launch Teams, isn’t it? It’s important to keep this in mind when you’re the person who is creating the team.
The names of teams that are duplicate are a bit confusing, naturally. However, Microsoft allows using duplicate names within MS Teams, and it’s your responsibility to ensure that there aren’t any within your account.
Let me show the consequences of having two team names by using an illustration. Let’s say the iOS team is developing the iOS app, while your Android team is working on the Android app. For the project managers from both teams this is an XYZ application team. Thus, both teams could create a group “XYZ app discussion” on MS Teams, leading to many confusions between teams. This is the kind of situation you’d like to avoid.
The most straightforward method of doing this is to ask managers/team leaders to review every group name before making a decision on naming. They can then search for the group name using MS Teams’ MS Teams searching bar and see if it is present or not.
- Set up naming conventions
Another method of avoiding duplicate names and improving the navigation experience for channels and teams more efficiently is to use strict names conventions.In the real world, people usually belong to multiple teams. Naming conventions can help users get around faster.
Let me illustrate this by using a simple illustration.
Let’s say you manage an agency that is digital. One of your employees manages the social media accounts of clients. There are many options to establish a channel/team that is specific to the individual. For instance, you could make a simple social media group channel where you talk about everything related to social media, or you can create one team for every client and a separate “social media” channel per each team. Which one is more effective? !
A naming convention, such as “Name of The Project – Country – Project,” “Name of The Project – Department – Project,” “City – Country – Store,” “Department Name – Country – Department,” etc. This could help make MS Teams experience more efficient. MS Teams experience more efficiency.
- Use chats for one-to-one messages and general channels for collaboration
Within MS Teams, there’s a chat option as well as Teams as an option. Both are different for what they do and, in a nutshell, you can chats are used for messages that are one-to-one and channels to facilitate collaboration. Let me summarize the key aspects to help you understand:
- It is recommended to utilize Chat in situations where you wish to contact the other party and continue to talk at a distance while performing your task. It’s generally informal and private.
- It is recommended to make use of Teams for collaboration and group discussions. If you join a new member in the team or channel, you can allow them to check their prior messages and files that have been uploaded to the linked SharePoint Team site.
- Make important groups private to let the team focus on their work
Sometimes, discussions don’t require the involvement of many channel members. In these instances discussions that are ongoing within the same channel could cause them to be distracted from what they’re supposed to accomplish. For instance, you do not need the scheduler of your social media on the same page in discussions about creatives. Therefore setting up a private group that only those who are related to the group are able to discuss and see messages makes sense.
- Set up teams for each project
I have discussed this issue within my “naming conventions” section. But, there are many times when the same people are working on various projects. It is therefore essential to create groups for every project in which the discussions and documents remain with the team working on the project. This makes searching and navigating much easier for team members.
- Familiarize your team with Folders and Files
MS Teams offers robust file-sharing capabilities. However, the thing to remember is it stores all files and folders on Sharepoint. This includes each file and folder shared in the discussion, or added manually through”Files” or the “Files” tab at the top of every channel.
It’s your job to train your team members with this feature. They can then upload, view, download and reshare the same folders and files directly to and from Sharepoint through MS Teams.
- Set up Notifications
Some notifications may not be required. For instance you don’t have to be aware of the lunch discussions that are taking place in the chat group nor do you require to receive a notification every second from private channels or teams that have 150 users. Making sure your notifications are set up correctly is probably the most effective way to utilize Microsoft Teams efficiently, if you’re not using it effectively. Here’s how to do it:
- Click on your profile picture at the top-right corner in Teams.
- Go to Settings and click on Notifications.
- There, you can customize the notifications you want to receive. You can also choose to get an email once every 10 minutes/hour/8 hours/day if you miss a message.
- Do not set files library private
If you’re a team manager, you are able to manage all folders and files in the channel/team. Be sure to never change the settings of the library for files to private unless you are not allowing teammates to access the files. As a default, owners and members have the ability to edit folders and files, while viewers are able to look them up.
- Connect Teams with Live Chat
Have you ever thought about how you could utilize MS Teams as more than an internal collaboration tool?
You can use live chat to connect with MS Teams.
In this way, you are able to talk to your existing customers and prospective customers in real-time and assist them in real-time with the program you have available all day long.
That means, instead of having to email or create an online support ticket only to be disappointed with the delay in response and a lack of response, you can create an exceptional customer experience. In case you didn’t realize that 86% of customers will spend more money to get the best customer service.
Furthermore, a customer who is confused is more likely to seek help via live chat, rather than taking the time to look up your email and communicate concerns. So, connecting MS Teams with Live Chat effectively helps to bring prospective customers into your sales funnel.
- Set up all calendar meetings in Teams, not Outlook
Meetings with team members are an essential element of executing successful projects. Microsoft’s Outlook + Skype for Business is a fantastic tool for scheduling and conducting team meetings. However Microsoft’s Teams simplifies the process by adding the Meetings feature on the platform.
You can set up an appointment and send out notifications to team members directly via Teams. If you want to discuss issues during the call, while having a conversation with the team and you want to start a meeting, simply click “Meet Now” and start the meeting straight away.
- Use Notes in Teams to collaborate on documents
OneNote Notes is a note taking program that is primarily used for collaboration and information gathering. It serves as a central hub for all notes. Notes can be organized in separate notebooks, make sections in notebooks, create multimedia documents, create notes, and much more.
With the OneNote Integration, users are able to collaborate on documents and note notes directly using MS Teams.
Brainstorm ideas. Gather information. Make notes during the meeting. Send images. There are many scenarios to use Notes for Teams and increasing workflow.
- Change background for video calls
One last suggestion I’d like to offer specifically for times such as these, when many of us are working remotely, can be to switch the background of calls.
Here’s how you can do it in Teams:
- Before joining the meeting, click on three dots beside the screen sharing option.
- Choose “Show background effects”.
- There, you’ll be able to either blur your background or add a custom image.


